Etsy Photos That Sell Series: Tip # 2 Planning Your Etsy Photoshoot
Tip #2 | Make a photoshoot “shot list”
Welcome! In this 7 part series from the Make Etsy Work For You blog, I’ll be diving into different tips, tricks and proven Etsy strategies that will help make your listings stand out from the crowd, look professional and sell your product using your listing photos. In this post we’ll be running through how to make a shot list for your Etsy photoshoot, and why its important!
Why should I create a Photoshoot Shot List for my Etsy photoshoot? Is it really necessary?
Yes and YES. If you want to make serious headway in your business and have customers look at you as someone they need to buy from, you need to take the details of your business seriously too! To make a shot list, plan ahead and make it easy on the day you are taking photos is one step you can take to ensure you are putting out the best version of your brand possible.
The shot list is especially important if you invest in a photographer - a shot list and mood board will guarantee they are on the same page about your vision for the photos, keep both them and you on track and ensure you have every photo you need afterwards. As a former stylist on photoshoots for a women’s apparel brand, I know all too well how easy it can be to get sidetracked, spend valuable chunks of time on chit chat and “what if we?” and to stray from the brand look and feel with too many outside opinions. Stay laser focused on your vision and needs and make it happen!
Follow the steps below to create your shot list and be SO prepared to capture amazing photos.
Step 1: List each of your products out in a Google Doc, Google Sheet or Excel.
Set up a spreadsheet wherever you’re most comfortable (or download my free template HERE!) and add a row for each separate listing, and a column for the shots you’ll need, prop ideas, and any notes you might need. Organize them by product type or collections to stay consistent and organized.
Step 2: Plan which shots will be needed for each one.
This is where your mood board and inspiration research comes in (read our first post HERE)! What shots do you think will be most effective as the main image (primary listing photo)? What lifestyle shots do you think would help a potential customer see how they might use the product themselves? What styled studio shots do you need to show details and a professional look? What group shots do you need of your collections or products that might sell well together? Can you take an image of your beautiful product packaging? Up close detail shots?
Think through which images will be needed for each item, and make notes next to each item on the spreadsheet. You should also make sure to note any dimensions of the images you need - you should be getting a variety of shots in both portrait and landscape (think banner options!), and you’ll be so thankful to have options when you are picking shots to use on Etsy, for social media, your website, marketing materials, etc.
For reference, the best size for Etsy listing images is 2000px for the shortest side of the image, and a resolution of 72PPI. The first listing image should be horizontal or square, so that the center focal point of the image appears in the cropped thumbnail views. Your first listing photo also sets the shape of the photos that follow, so using the same shape photos for all listing photos will create a more cohesive browsing experience.
Step 3: List out what backgrounds, props, models, etc. you’ll need for each shot.
Maybe you’ll be shooting your products styled next to fresh greenery and florals. Maybe your best friend is coming over with a fresh manicure to hold your new candle design in a lifestyle shot. Plan ahead what you’ll need for each product and get sourcing! I love thrifting, antique shops, craft stores or getting florals and greenery from Trader Joes - but obviously this depends on your product and style.
Step 4: Schedule out your photoshoot by day and time.
Maybe one day you’ll set up and shoot your “studio shots”, with good natural lighting and a white backdrop. And maybe this is when you get your “detail” shots to show texture, scale, patterns, etc. Or maybe you tackle all that in the morning, and in the afternoon you have some friends come over to model for your lifestyle shots. Or maybe you’re hiring a photographer, meaning you REALLY want to schedule out which photos will be taken when so you can get your money and time’s worth out of the day. Especially in this situation, if it seems like you’re overdoing it with the planning, you’re not! Photos are important and worth your time and attention. Plan out a loose schedule so you can focus on getting the best photos, not on what you need to do next.
Step 5: Print one out for yourself, and either print or share with anyone else who is involved.
I like to print my shot lists out and have it on a clipboard I can easily carry around with me. I highlight certain things, make notes, basically make a mess of it and find it really helps me to stay on track and accomplish much more than I would otherwise. Cross things off as you go and you’ll feel awesome at the end of the day, and have something to reference back to as you edit!
Check out our next blog post Etsy Photos That Sell Series: Tip # 3 Organizing and Editing Your Etsy Photos for more tips on how to edit, rename and organize your images to create a system for success now and make life so much easier in the future.
And like I said last time, the more time you invest in planning your photos and making them the best you can, the better results you’ll see. It may seem like it is a lot of time and effort (especially when you have so many other to-do’s on your list!), but think of this as a top priority. You are putting so much effort into creating your product, listing it online, etc. - now make sure its presented to your target customers in the best light possible!
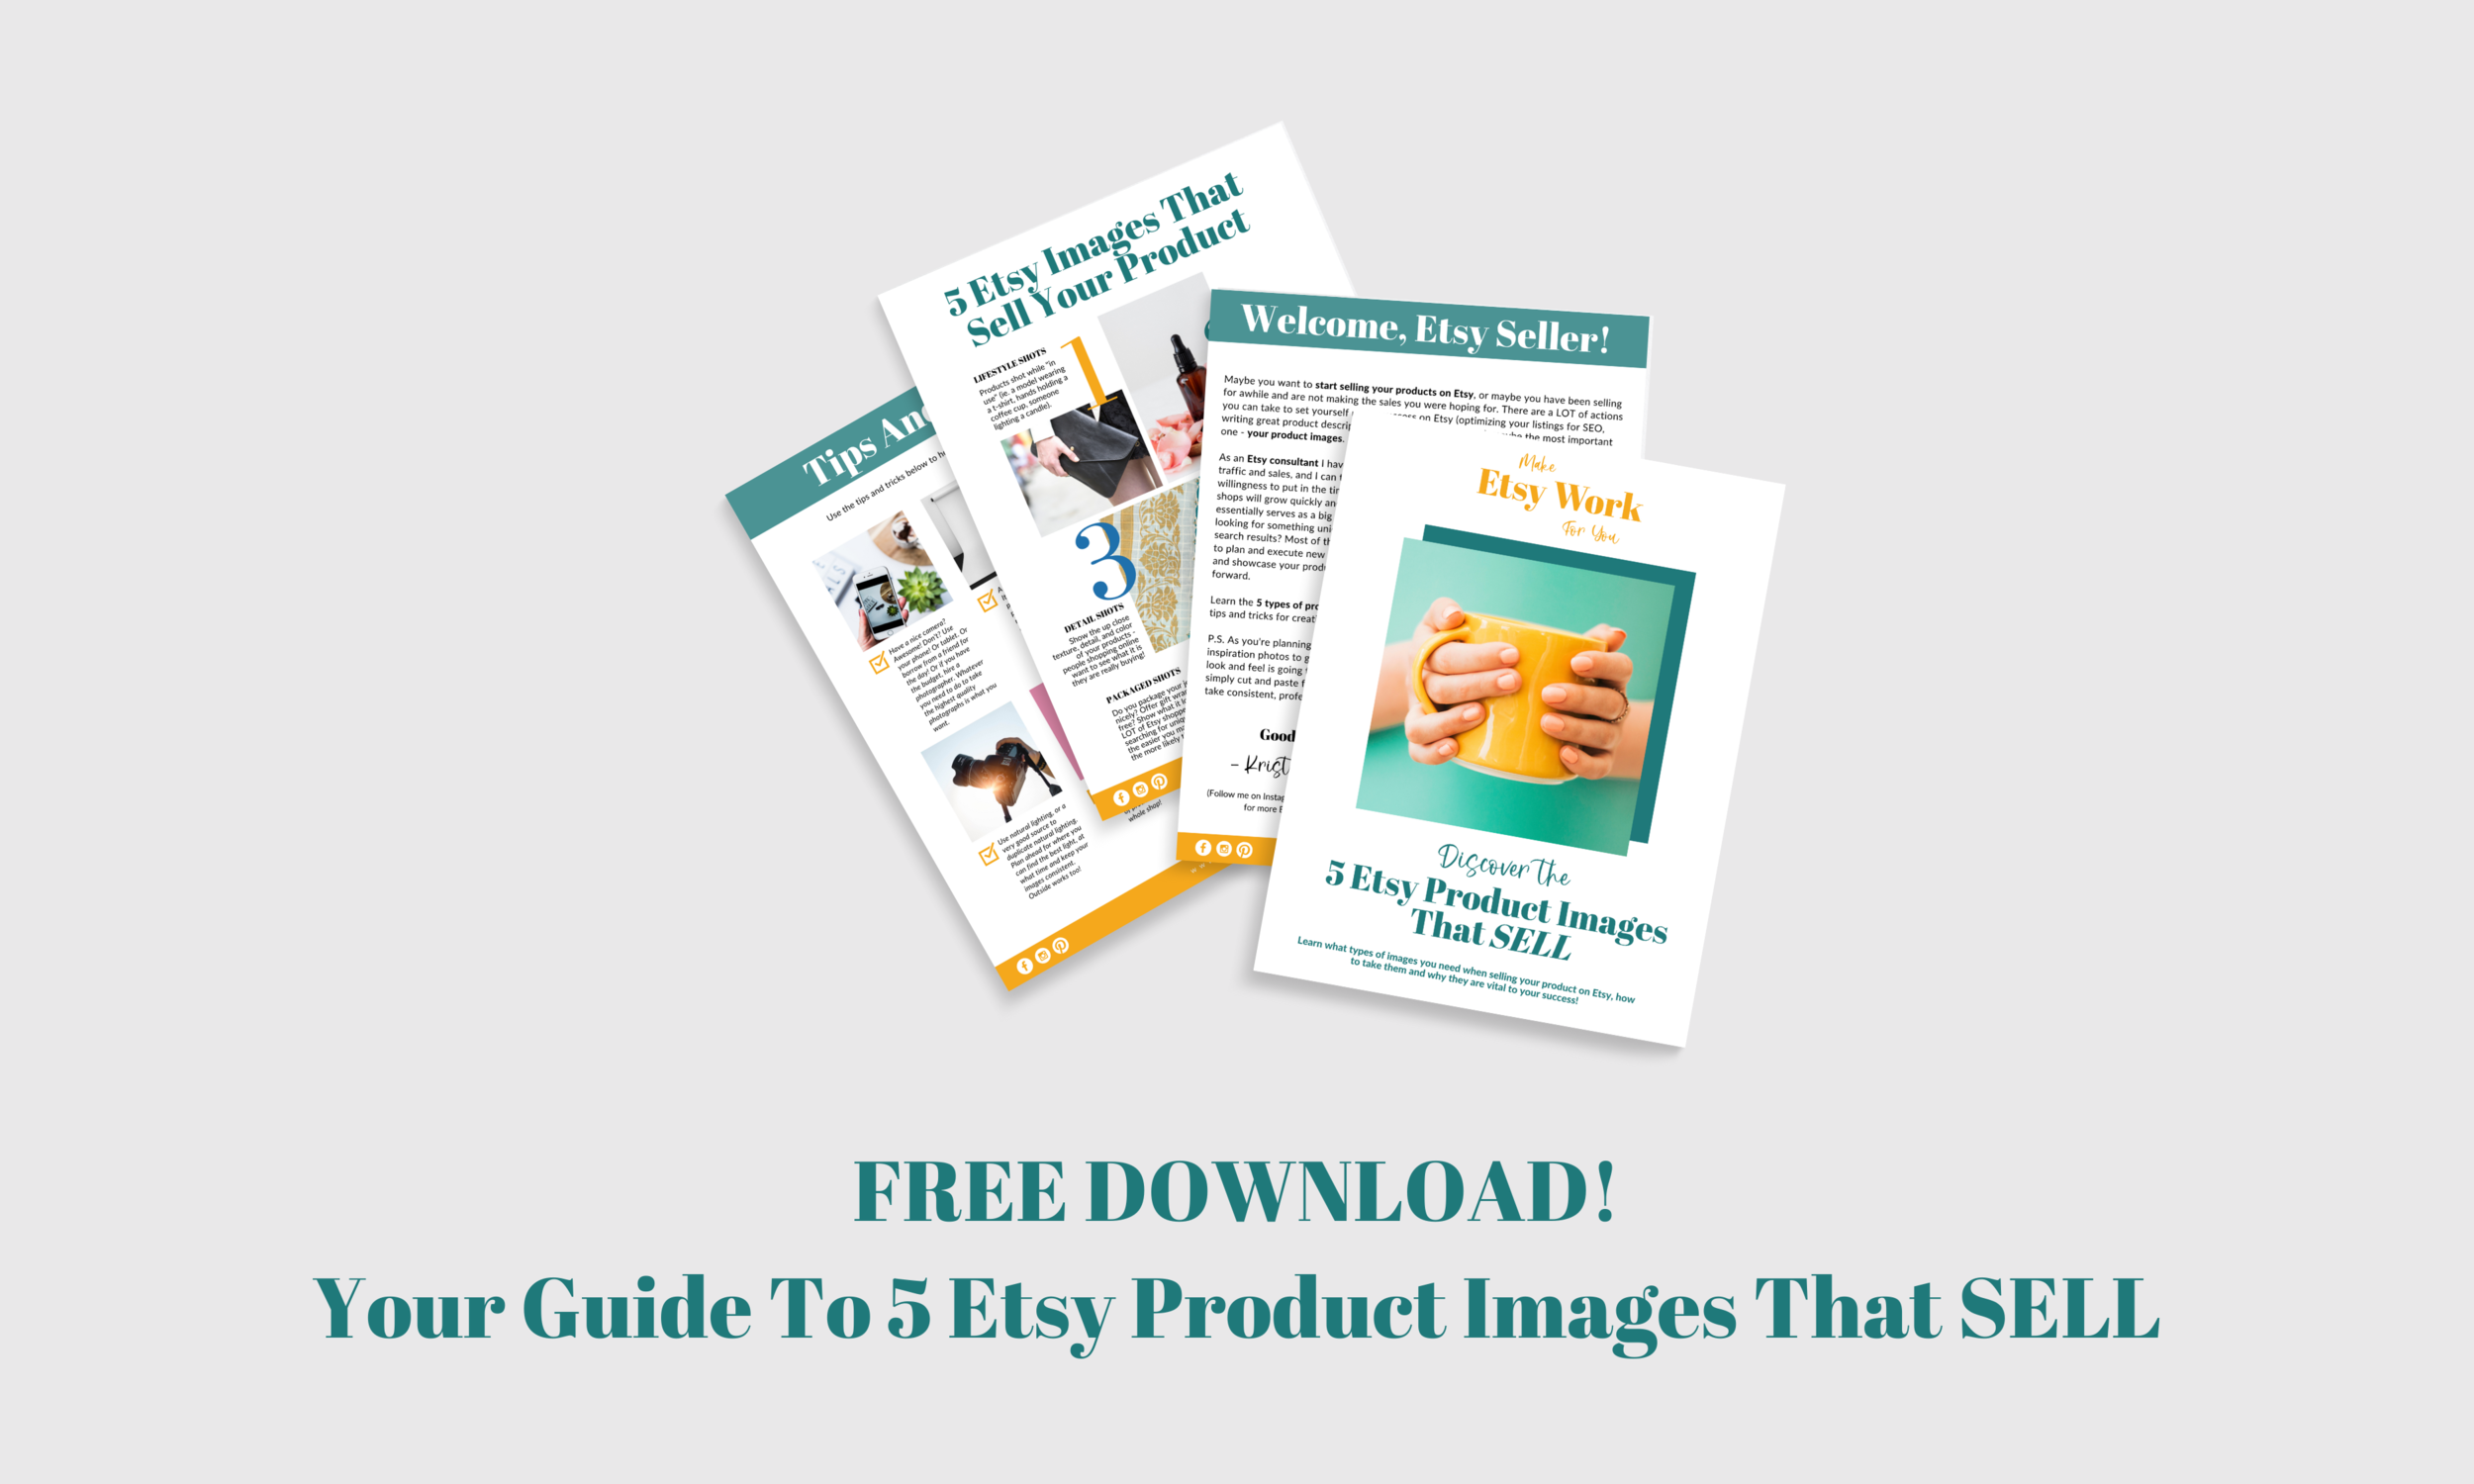
Looking for more help with your Etsy images? Click HERE for my FREE guide to 5 Etsy Product Images That Sell.
Etsy Photos That Sell Series: Tip # 1 Create A Brand Mood Board
So maybe you are just starting an Etsy shop, or you are working on improving your current Etsy shop listings and know your product images could use a little work. You’ve landed in the right spot! In this 7 part series from the Make Etsy Work For You blog, I’ll be diving into different tips, tricks and proven Etsy strategies that will help make your listings stand out from the crowd, look professional and sell your product.
Tip #1? Start the process by making a Brand Mood Board!
Why Should I Create A Brand Mood Board for Etsy?
Whether you are a brand new business or have been around for awhile (and I’ve worked with lots of both types of businesses!), you need to thoughtfully create and stick to a brand look and feel. Don’t just take pictures willy nilly as you go along. You want people to see an image of yours and immediately associate it with your brand. Brand look and feel includes a lot of things, but the colors and images you use are a BIG part of it.
In my opinion, images are maybe the most important key to your success on Etsy. Compelling images are how most Etsy customers decide what they want to click on as they skim pages full of search results. Your photos should be high quality, on brand, styled if possible and appealing to your target customer! And the way to make sure you appeal to your target customer is to dive deep into exactly who your target customer is, and what types of images they might be attracted to.
Why do I need to define my target customer?
If you are trying to sell to everyone on Etsy, you are selling to no one! The key to success on Etsy is narrowing in on your niche, figuring out your unique selling points of why your product is unique and provides value to them, and then successfully conveying that through your listing images, titles, tags and descriptions. Keep them in mind as you create your mood board.
Where should I find inspiration for my Etsy Photos Mood Board?
So many places! You can find inspiration for your brand photography on:
Pinterest - create a board! I like to keep my inspiration boards “secret” as I build them and narrow down on the right images.
Instagram and Google - search for brands and products in a similar niche and see what photos stand out to you.
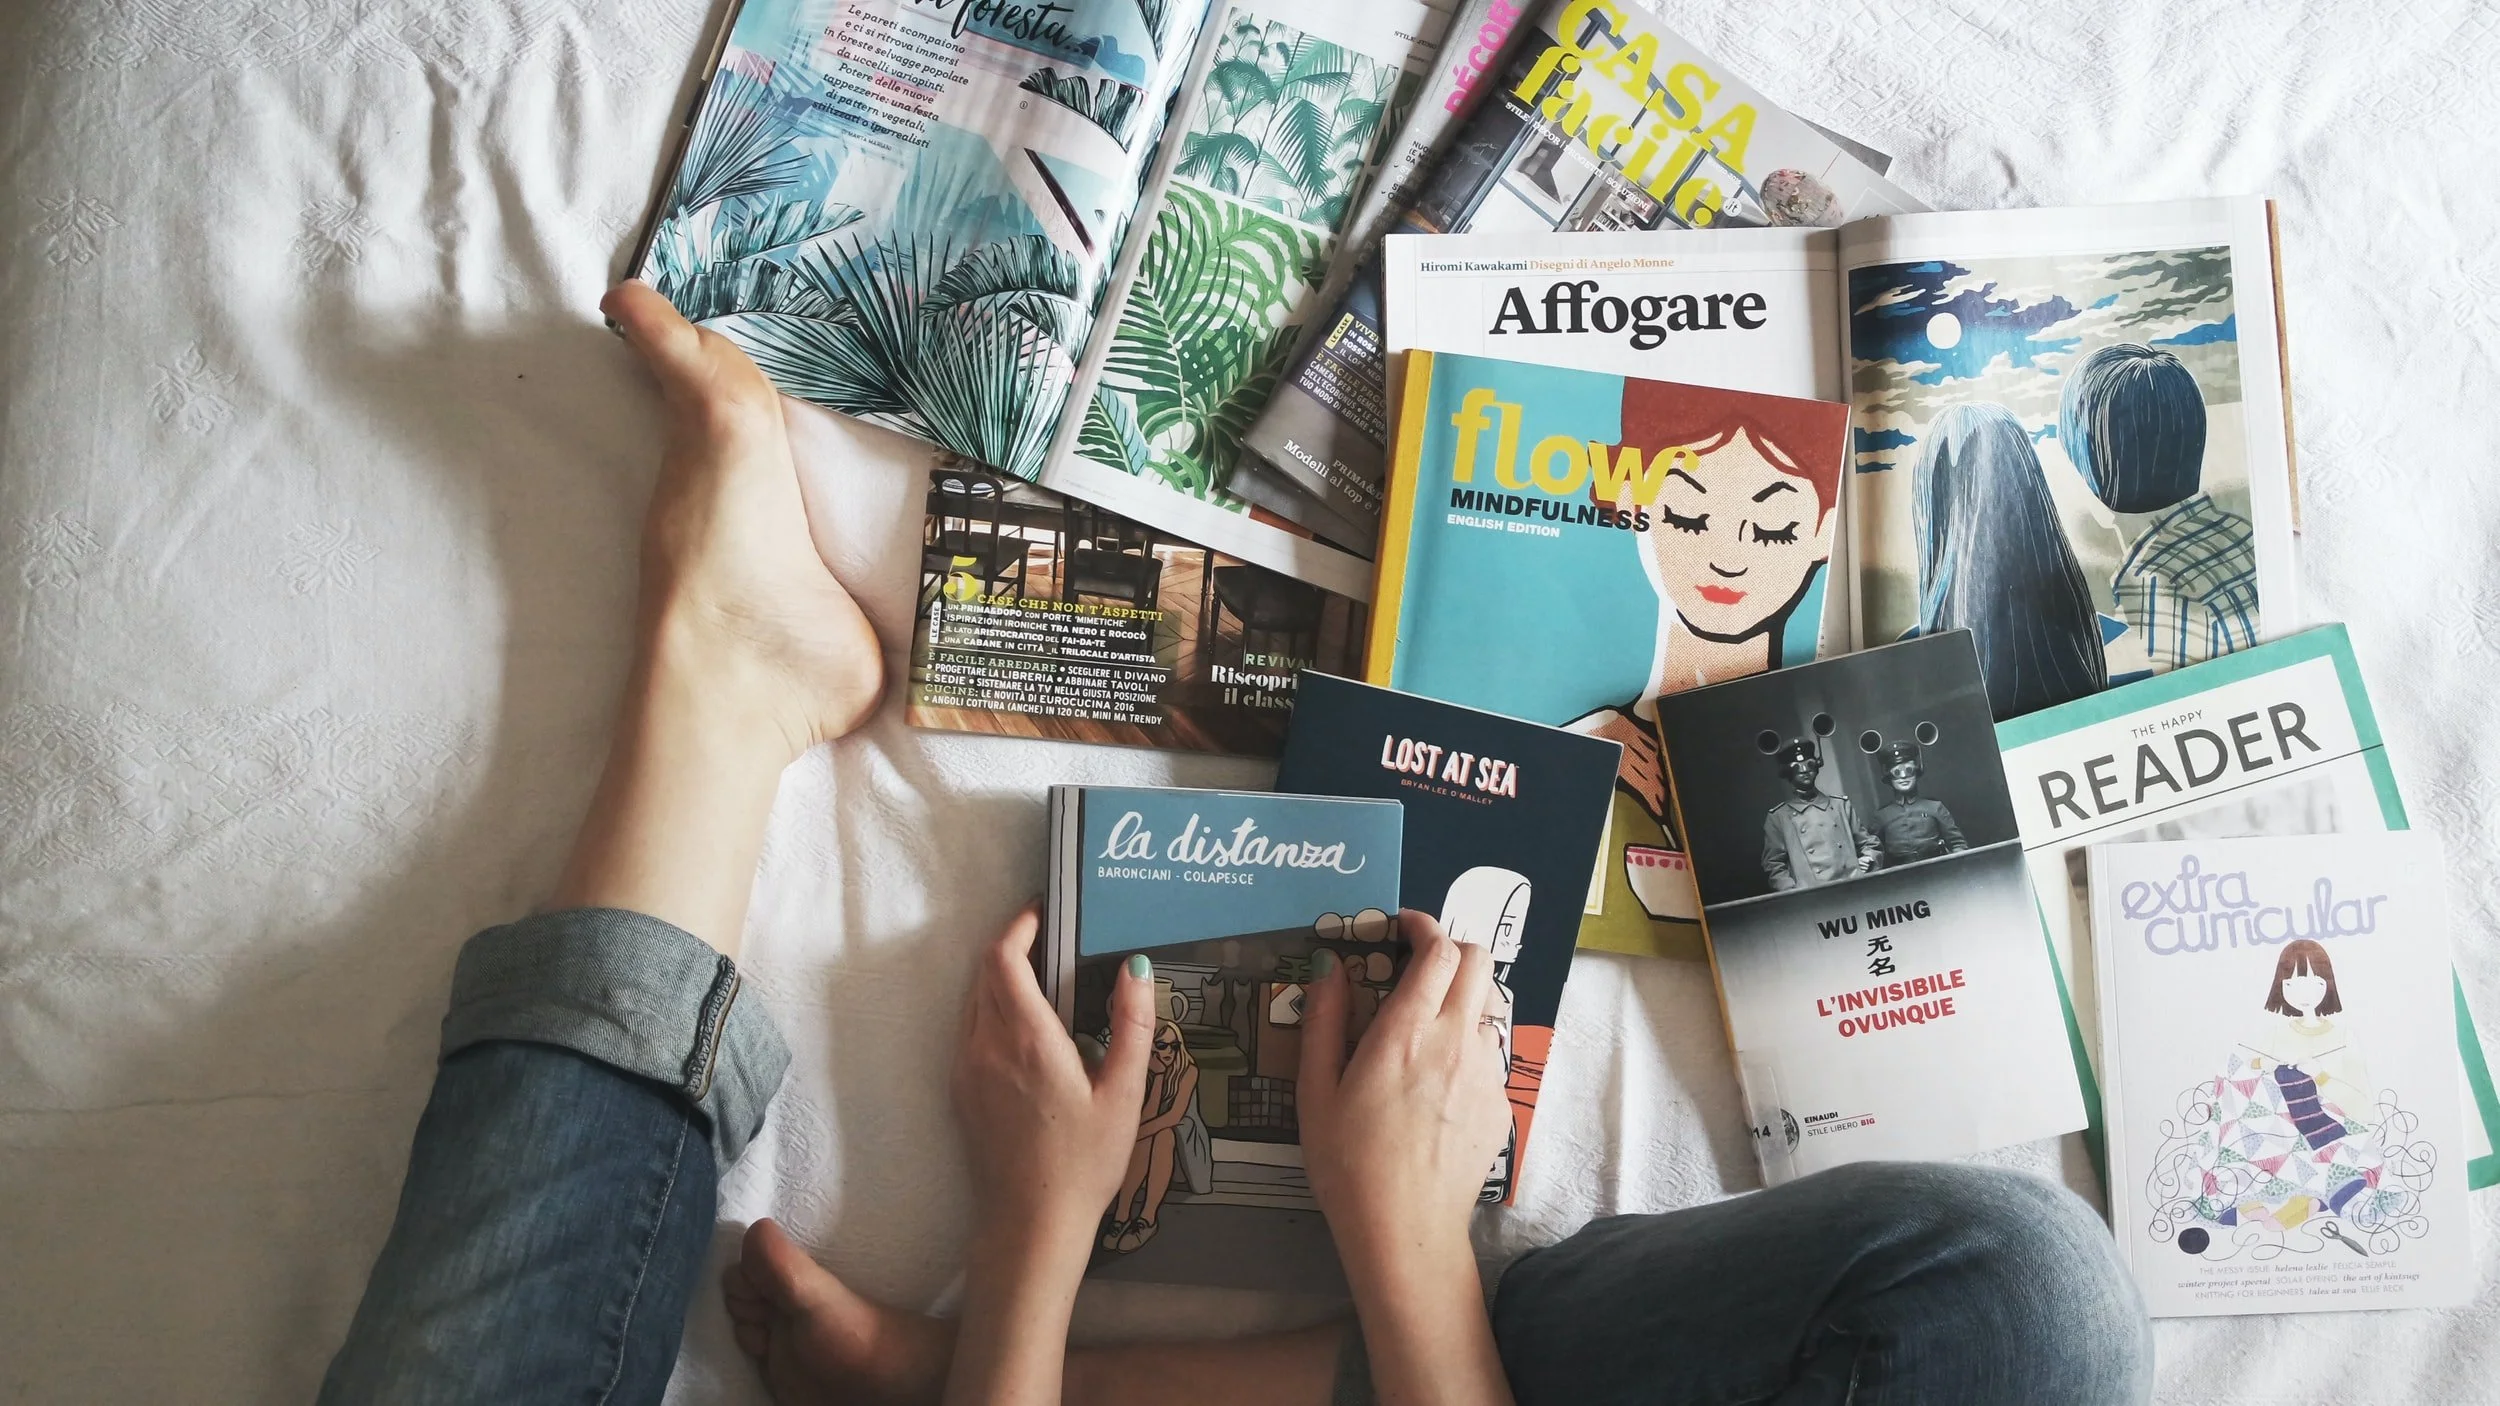
Magazines and catalogs - cut and paste inspiration images to your mood board if that’s more your jam! Catalogs can be a great place to discover new product photography layout ideas.
Research brands you think your target customer might like and find the photos you are most attracted to. Don’t copy them exactly, but use them as inspiration to put your own twist on the idea for your brand look and feel.

What exactly should I include in my Etsy Photos Mood Board?
In your photography mood board, include the following photo inspiration examples. You can even group the categories in different areas of the mood board to reference easily.
Style/vibe examples - Images from brands who you like/have a vibe you are going for.
Composition/layout examples - Layouts you like, model poses you’d like to try, or a certain angle shot that might work for your business.
Group shots - How can you group products together to sell more and show the scope of your product line?
Color combinations/filters - Light and airy? Contrasting colors? Find ideas for what you think might work best for your brand.

OK I made my mood board. What do I do once it’s completed?
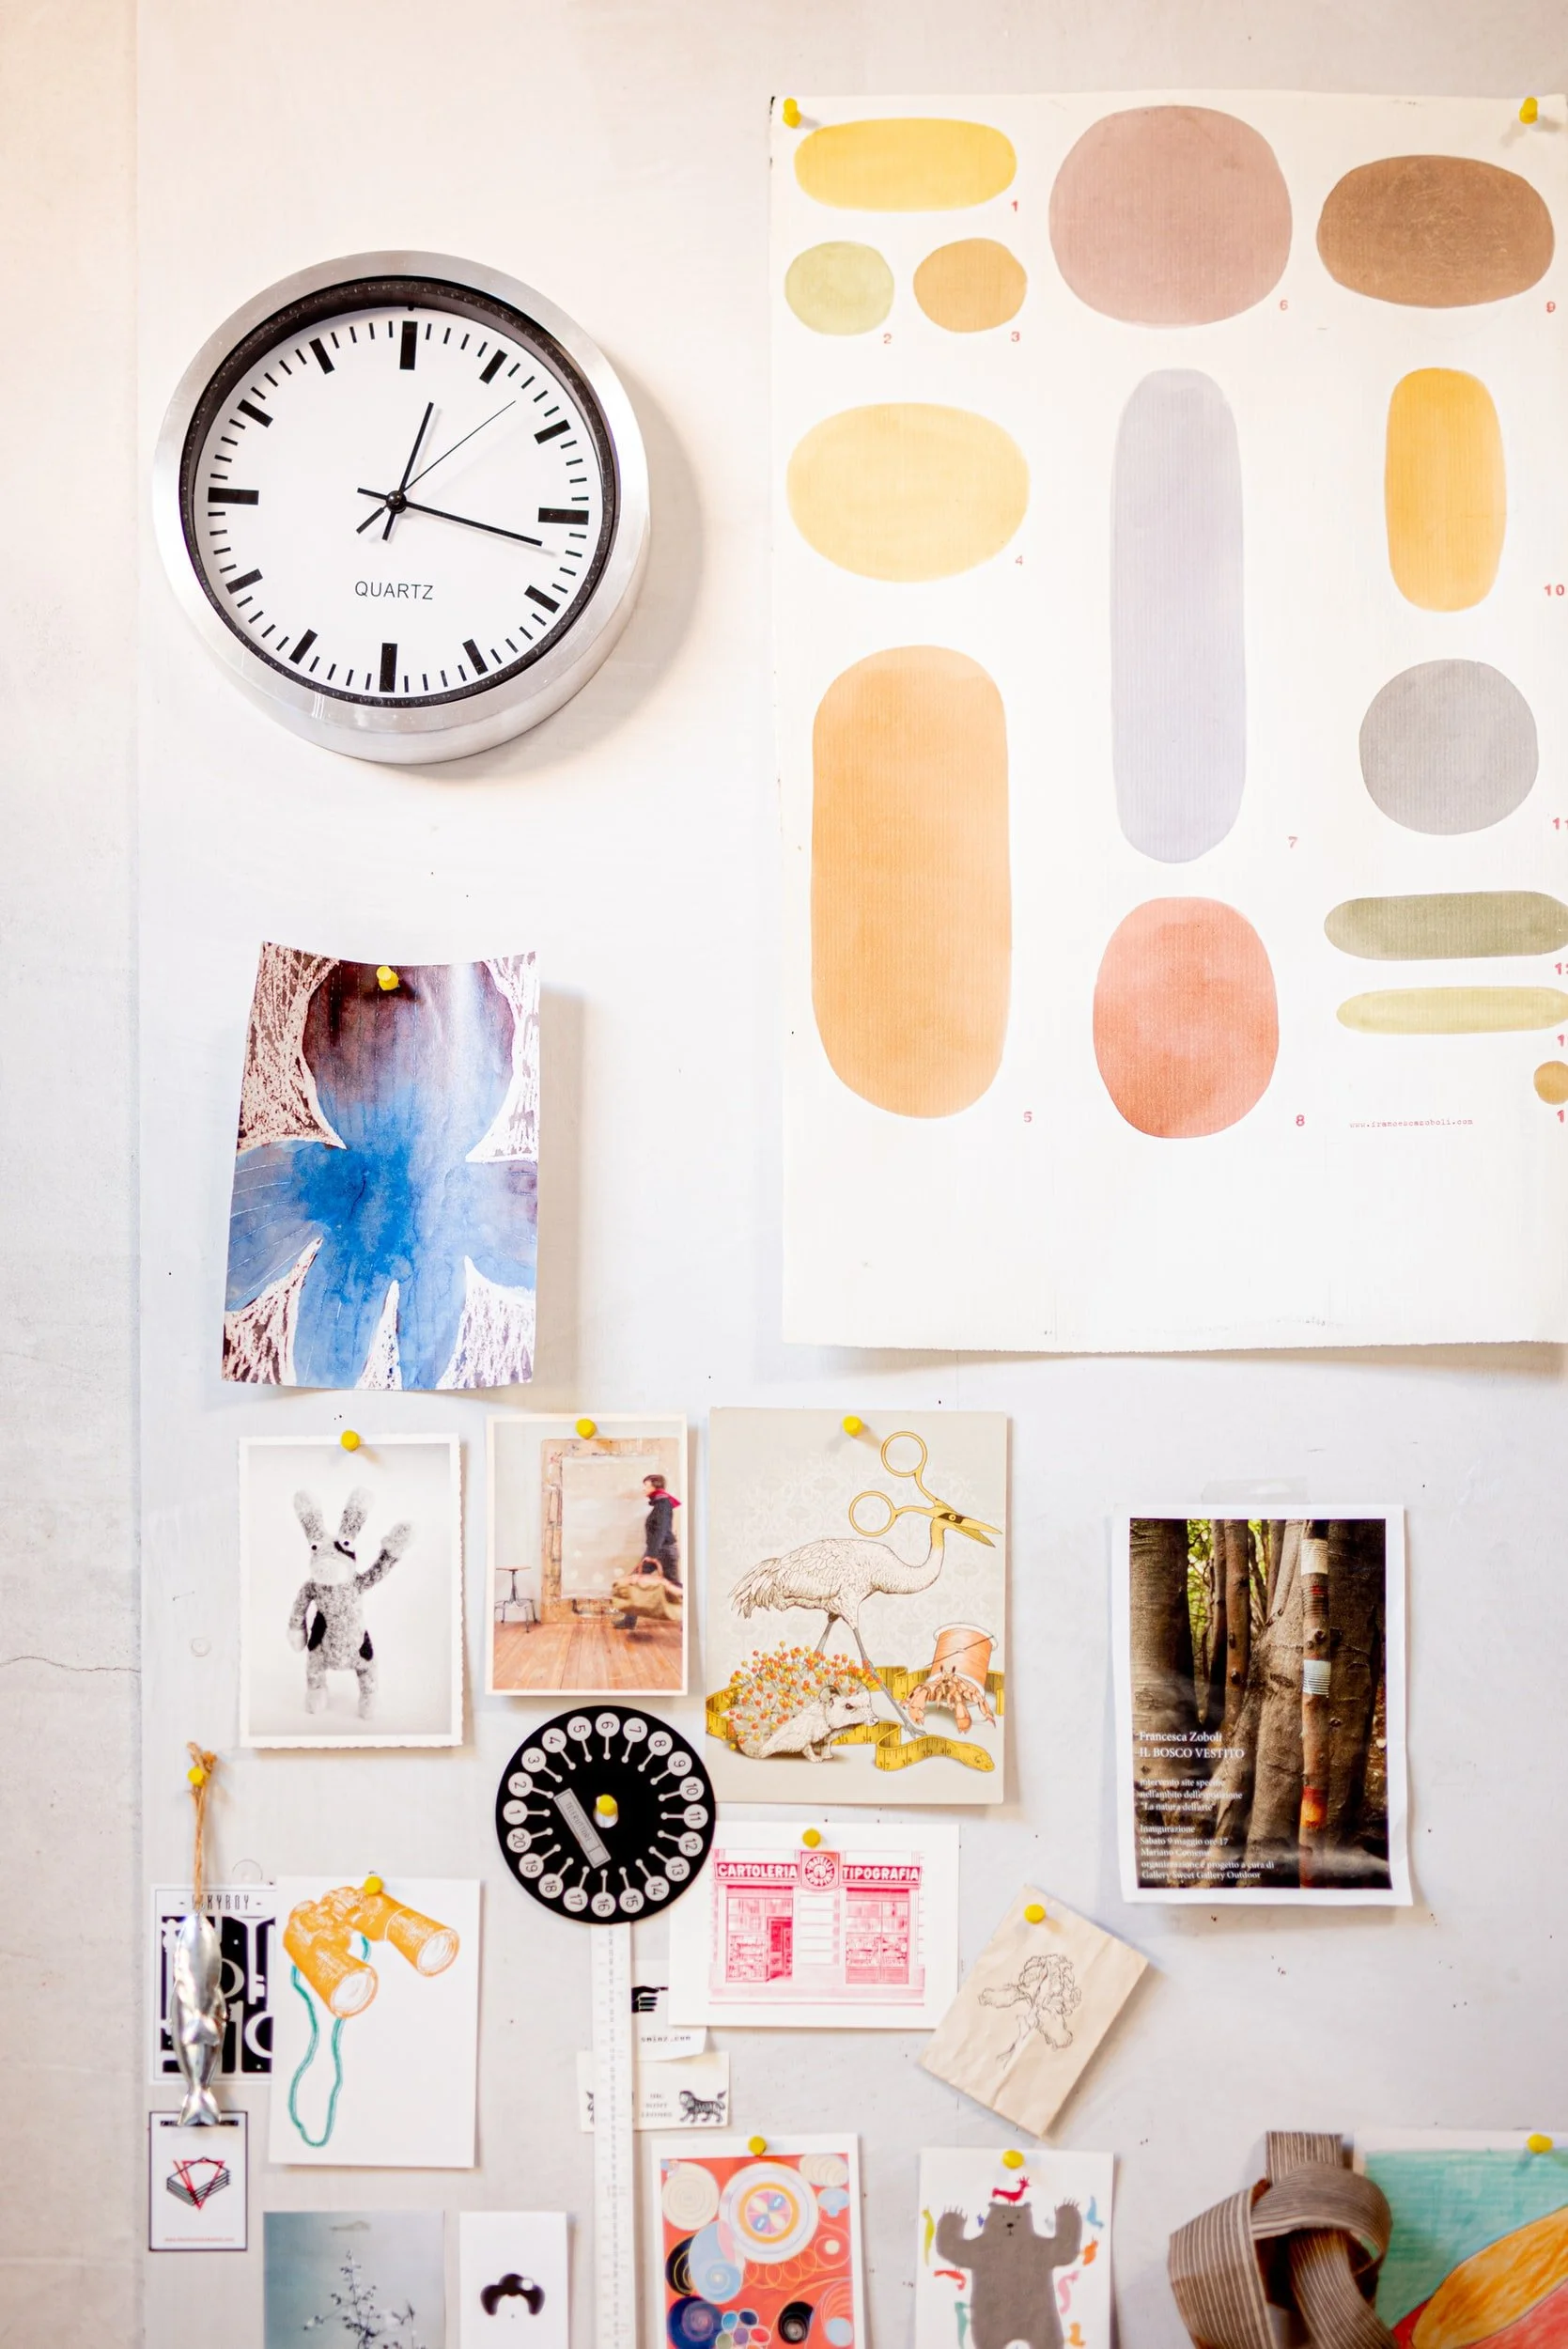
Utilize it to your advantage and look at it often!! I recommend printing it out if you can (I like printing them on 11” x 17” and tacking them up by my desk/bringing them with me to photoshoots). Or keep the file easily available to pull up from your desktop!
Use the mood board to keep you focused as you take the following next steps:
Figure out what background you’ll use
Make a list of what props you’ll need
Brainstorm which product combinations you’ll want to take group shots of
Make your “shot list” - list your products out in a Google doc Google Sheets or Excel, and plan which shots will be needed for each one. Plan ahead and make it easy on the day you are taking photos to know what you need. This is especially important if you invest in a photographer - a shot list and mood board will guarantee they are on the same page about your vision for the photos, keep them on track and ensure you have every photo you need afterwards.
Check out our next blog post Etsy Photos That Sell Series: Tip # 2 Planning Your Etsy Photoshoot for more tips on how to plan ahead for your photoshoot, coming next week!
And just remember, the more time you invest in planning your photos and making them the best you can, the better results you’ll see. It may seem like it is a lot of time and effort (especially when you have so many other to-do’s on your list!), but think of this as a top priority. You are putting so much effort into creating your product, listing it online, etc. - now make sure its presented to your target customers in the best light possible!